One of the essential components required to facilitate commercial transactions is digital payment. As the owner of an eCommerce store, you’ll have to integrate more payment methods so that you can cover the needs of your potential customers. We talked before about Stripe, and today we’ll move on to PayPal.
PayPal is one of the most popular and efficient financial solutions for your online store. In today’s post, we will give you a step-by-step tutorial on how to integrate PayPal into your WooCommerce store.
So let’s get started!
First of all…
What is PayPal?
PayPal has been providing consumers with alternative ways to make purchases and send and receive money online since 1998. PayPal allows you to pay for items online using a bank account rather than a credit card and keeps your payment information private from merchants.
The majority of its success stemmed from the fact that its parent company, eBay, was the eCommerce behemoth of the time. As a result, most eBay users subsequently abandoned eBay’s in-house payment system, Billpoint, in favor of PayPal. However, when eBay and PayPal finally parted ways in 2015, the payment solution remained popular among internet users worldwide.
When you link your bank account to your PayPal account, you can make online purchases at participating retailers. PayPal acts as a go-between for your bank and merchants, keeping your payment information safe. You can also use PayPal to send money to friends and family.
Why Use PayPal?
Did you know that PayPal had 34 million active merchant accounts (business owner) accounts in January 2022? In addition, it made a revenue of over $25.37 billion back in 2021 and $19.3 billion in payment transactions.
Here are a few of the reasons in case you need to be convinced:
- First, it works well with WooCommerce. Second, wooCommerce-PayPal integration works flawlessly using PayPal Standard or Express. Third, adding PayPal to your store will only take a few minutes, even if you’re a WordPress newbie.
- PayPal has a large number of users. You can’t go wrong with PayPal if you’re looking for a famous international payment solution. The majority of store visitors have probably heard of or are already using PayPal. It is recognized and accepted almost everywhere because it is a well-known brand. It also means that your customers will find it simple to use.
- It is free and straightforward to open a PayPal account. A merchant account is required to accept PayPal payments in your store. You can easily do this for free in a short amount of time.
- You have access to a variety of services in one place. For example, you can use the same account to process refunds, cancel transactions, create payments, and issue invoices.
How to Integrate PayPal into WooCommerce
In four simple steps, you can connect PayPal with your WooCommerce store.
Step 1: Enable PayPal as a payment option;
Step 2: Take a look at your PayPal business account for your login credentials;
Step 3: Setup additional PayPal settings for WooCommerce;
Step 4: Use a PayPal Sandbox Account to make a test purchase.
Step 1: Enable PayPal as a payment method
To begin accepting PayPal payments in your WooCommerce store, go to your WordPress dashboard and enable the payment method. The PayPal payment method was initially enabled by default following a new WooCommerce installation.
You must first install and activate the WooCommerce PayPal Payments plugin for the payment method to be available.
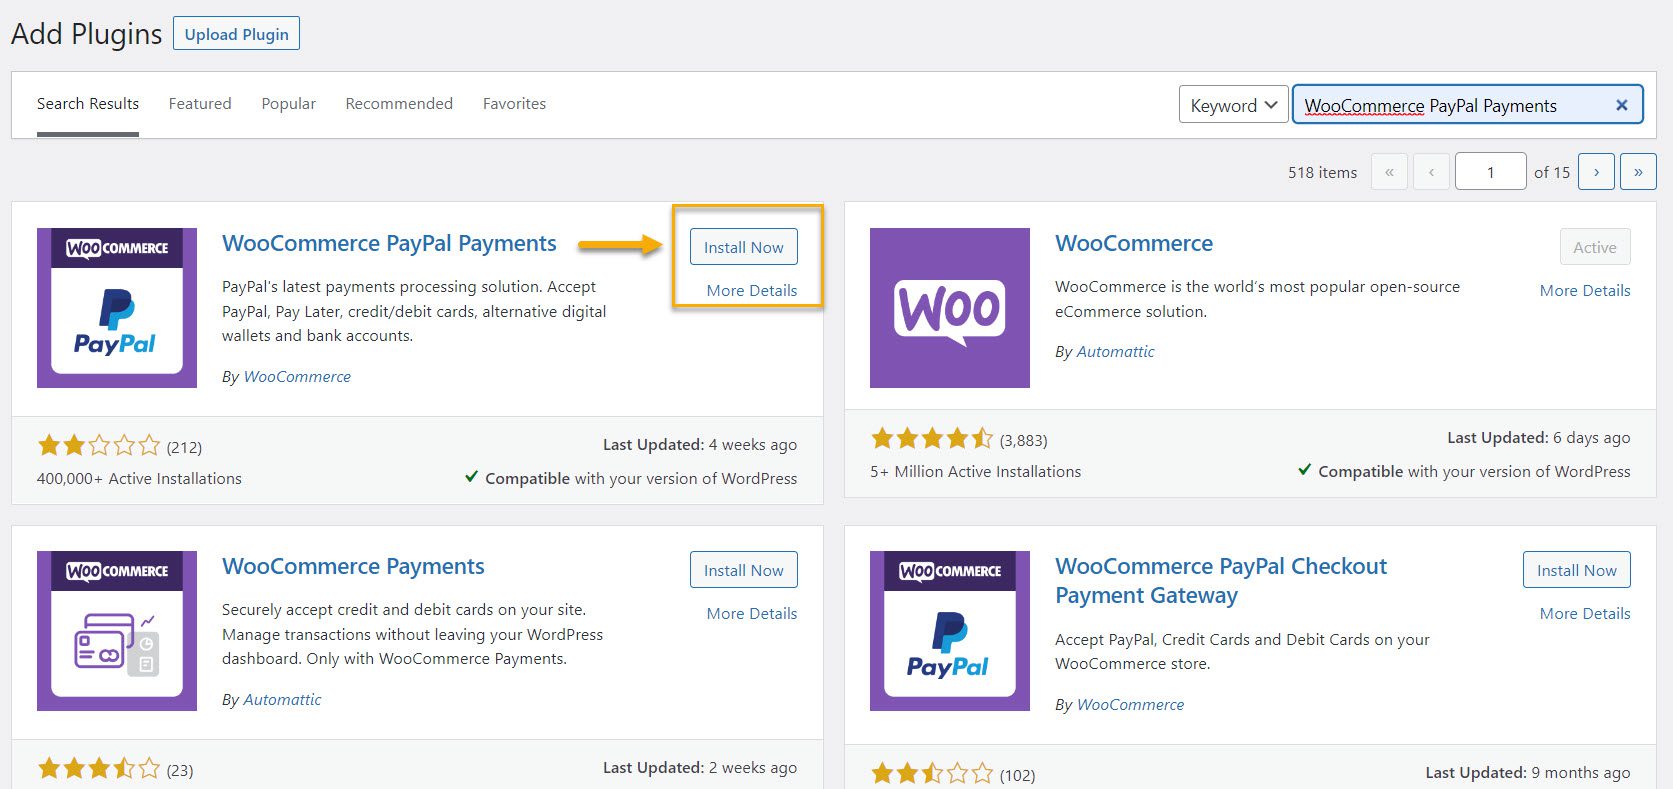
Go to Plugins → Add New in your WordPress dashboard and search for “PayPal.” When you’ve located the plugin, click Install Now and then Activate.
When you navigate to WooCommerce → Settings →Payments, you’ll notice that the PayPal payment option is now available. First, toggle the switch to the on position to make this payment option available. Then, when you’re finished, click Save Changes.
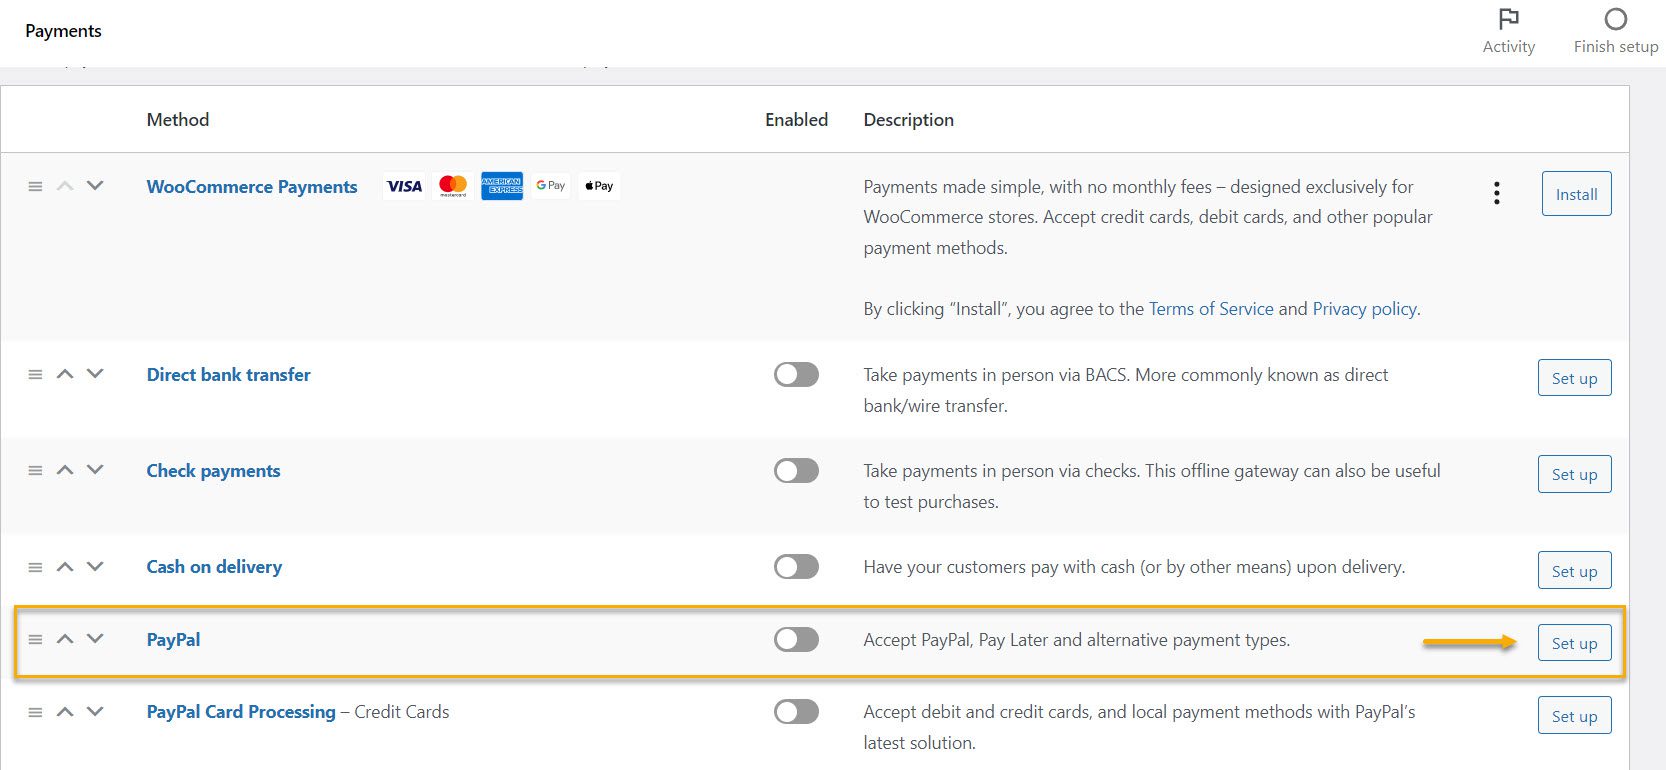
You will see two options for connecting to PayPal automatically or manually on the following page.
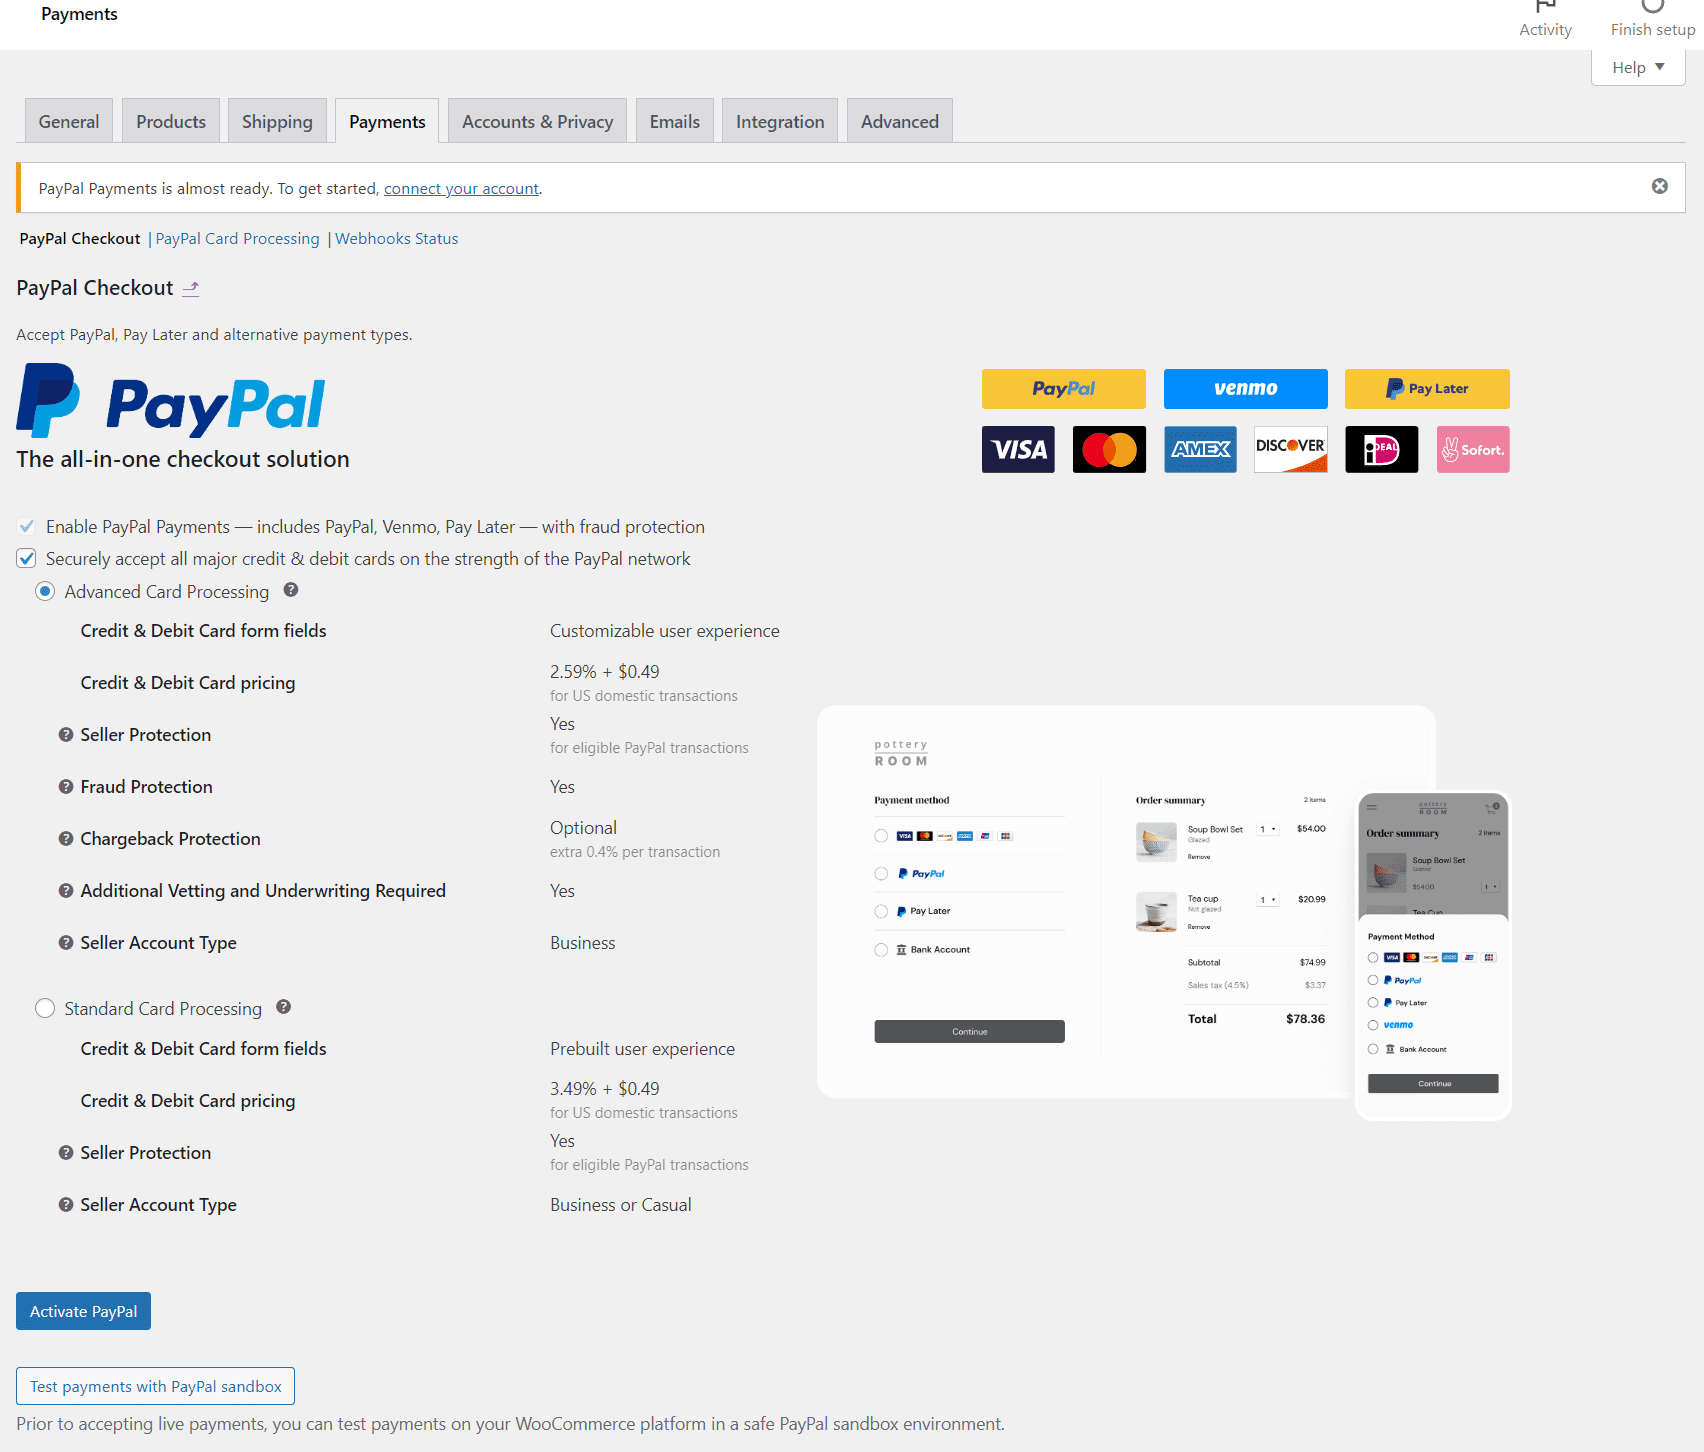
The Sandbox mode or option here allows you to test your WooCommerce PayPal connection before making it public.
Step 2: Get Your PayPal Business Account Information
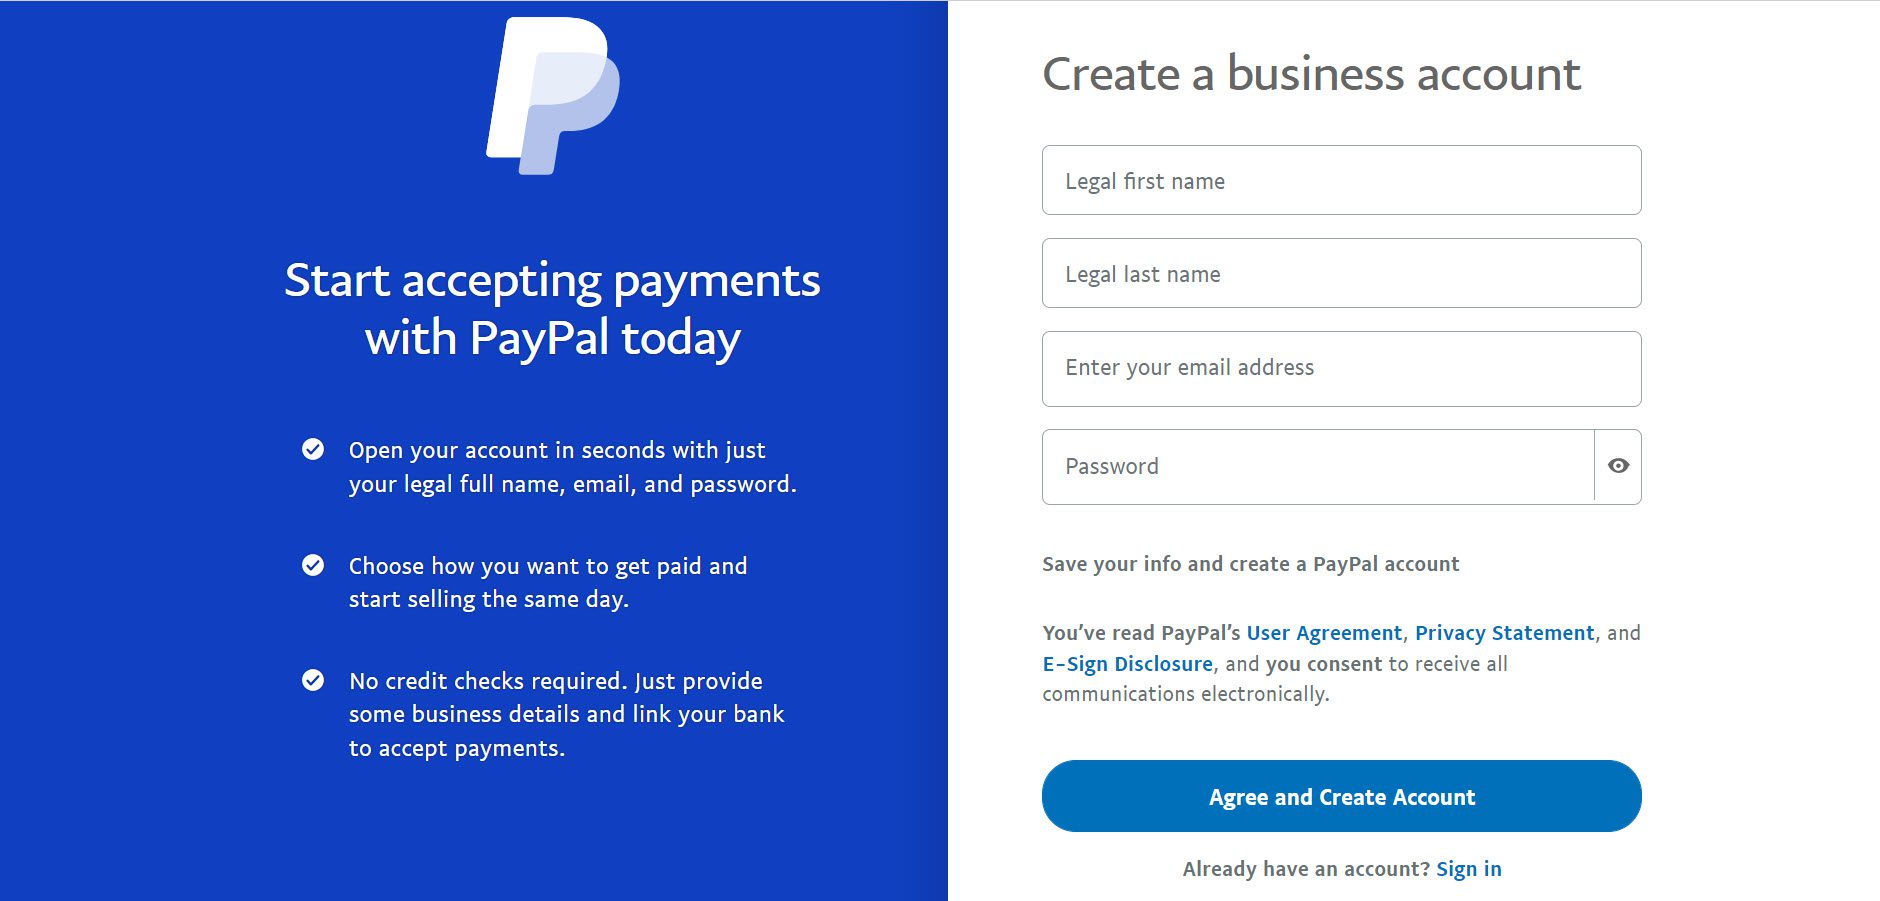
As previously stated, you will need a PayPal merchant account to enable PayPal checkout in your WooCommerce store. You can easily set up a new PayPal business account if you don’t already have one.
Log in to your merchant account after you’ve created it. The following step is to access your account settings.
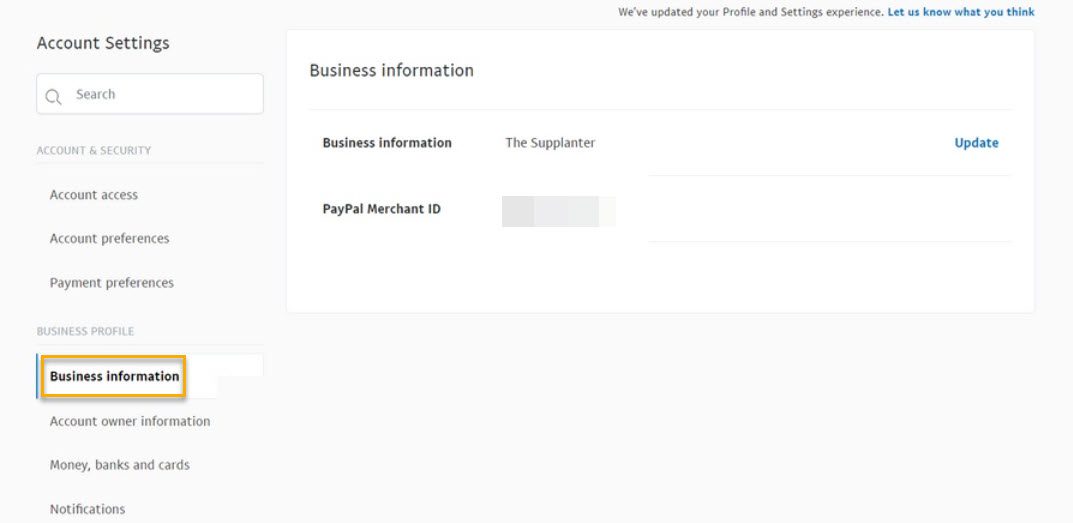
Click the Business information tab to get access to your merchant ID.
You’ll also need the client ID and the secret key to proceed. So first, go to the top panel of your business account dashboard and select Developer to get these details. Then, navigate to your account dashboard by hovering over your name in the top right corner and selecting Dashboard.
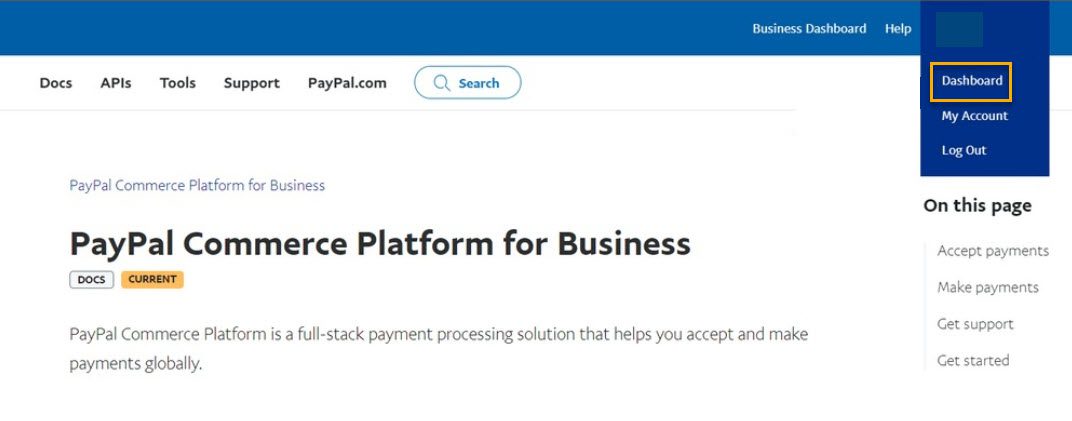
At this point, navigate to the My apps & credentials section’s Live tab. You want to create a new REST API app by clicking Create App. You’ll be able to see the client ID under the live API credentials after starting the app.
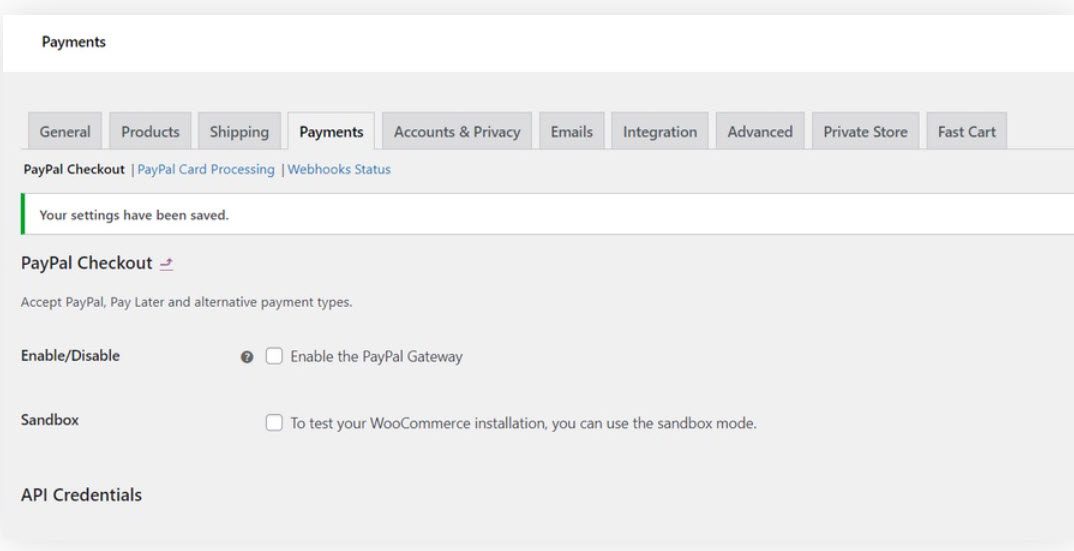
Now that you’ve got your credentials, copy and paste them into the PayPal Checkout page in your WordPress dashboard. Then press the Save changes button. WooCommerce will then display additional settings for your store’s PayPal checkout experience.
Then, check the Enable the PayPal Gateway box at the top of the page.
Step 3: Configure WooCommerce PayPal Settings
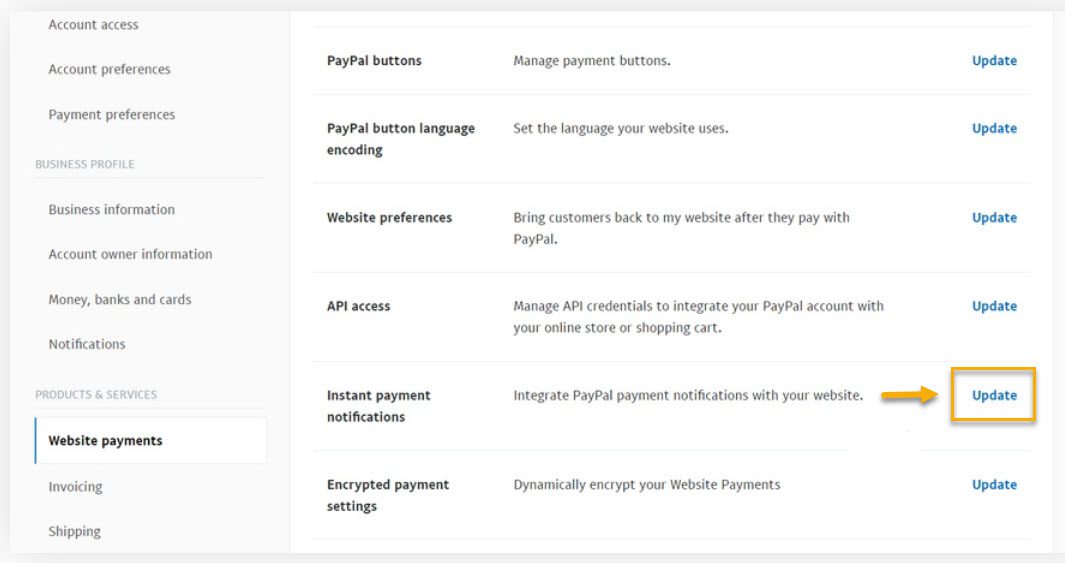
The first thing on our list is enabling Instant Payment Notifications (IPN).
IPN is a PayPal feature that sends notifications to the backend of your website whenever you receive a payment or when a transactional event occurs.
Log into your PayPal business dashboard to enable these notifications. Then, go to Website payments and click Update in the Instant payment notifications section.
Next, click Choose IPN settings. Then, enter the notification URL of the site where you want to send the IPN messages on the next page. This URL contains the domain name of your site and a directory.
It would be best if you also considered adding an auto-return URL to PayPal as another practical configuration setting.
Customers are redirected to an Order Received page after the checkout process is completed when this option is enabled. This makes sense because you want them to stay on your site to shop more, see upsells, read a blog publication, or simply interact with your brand more.
To add an auto-return URL, go to the Website preferences section of the Website payments tab and click Update.
Continue scrolling to see other options, such as blocking unencrypted website payments and requiring the customer to enter a contact phone number.
Once you are done, PayPal should redirect you to your WooCommerce store’s Order Received page.
If everything has gone smoothly up to this point, your WooCommerce-PayPal integration has been completed successfully. You can now return to your WooCommerce payment page, where you should see the PayPal option on the checkout page.
Over to You
As a WooCommerce store owner, you can use a variety of popular industry-leading payment gateways such as Stripe, PayPal, and many others. Feel free to check out our WooCommerce Stripe integration tutorial if you decide you want to go with that one. Ideally, you should offer various payment methods because their adoption can differ from country to country.
WooCommerce PayPal integration is something you want to do if you’re running an online store. It will add to brand credibility, but it will also help your customers make safe transactions.

Gabriella is a Digital Content Writer and Marketer with a zeal for all things WordPress. When she’s not researching and drafting the upcoming articles, you can find her in the open air exploring the outdoors with her dog.


Comments are closed