
Sidebars have been present on websites since the mid-1990s. Early websites were crude but functional, and now, more than two decades later, there have been numerous developments in online design.
On the other hand, sidebars are still a prevalent feature on all websites, from blogs to small enterprises and eCommerce stores. The vertical area adjacent to the main text of a website, known as a “sidebar,” is usually filled with “extra information” or “links” to other parts of the page.
If you’re running a WooCommerce-powered eCommerce site, you’ll probably want to add some sidebars to your shop pages.
Here’s an example of sidebar navigation from Powell’s, an online bookstore.
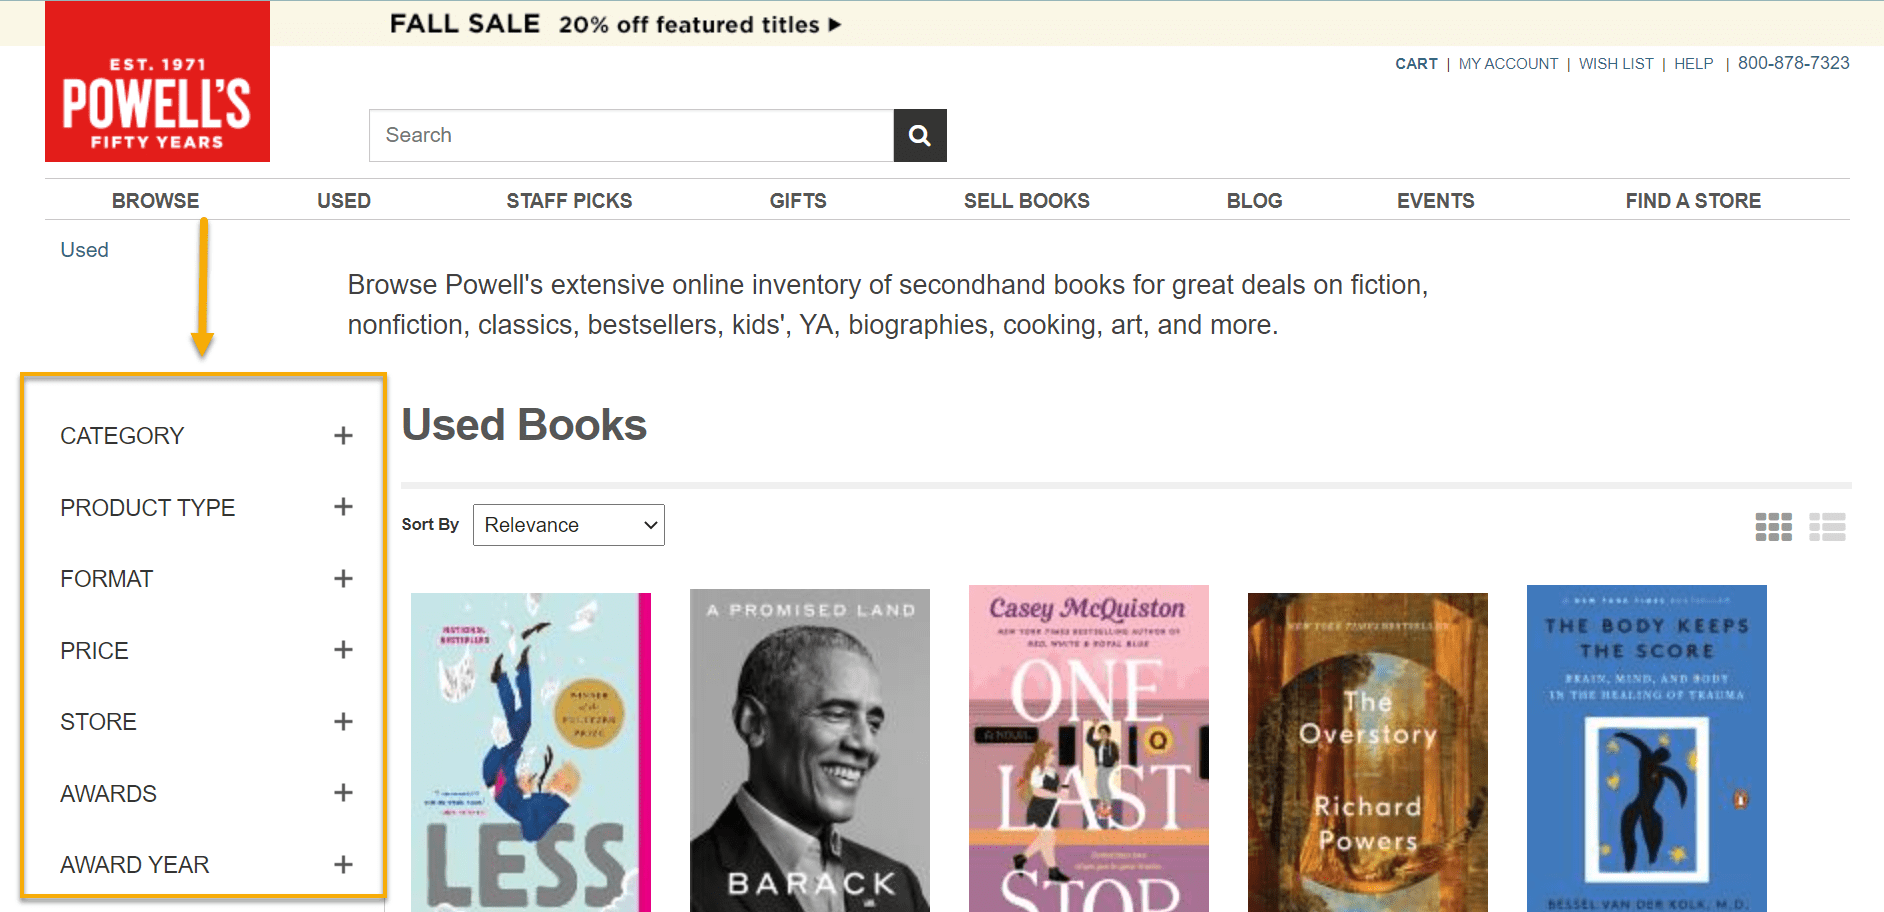
This section will lead the customer to different pages on the website.
Why different sidebars, you might ask?
There are several pages on your eCommerce website. For example, there’s a home page, a blog listing page, a blog post, a shop view, a single product view, etc. Furthermore, displaying the same sidebar throughout the site impacts both the user experience and the conversion rate of your online store. And not in a positive way, that’s for sure.
If visitors land on your blog page, you could encourage them to subscribe to the blog, read more related articles, or search the site for the helpful content. As a result, the Related Posts and Search widgets, including an opt-in form, are solid rivals for the sidebar on a blog page.
You want to convert a visitor who has arrived at the shop page. In other words, you want them to “buy” something. For the same reason, you’d like them to browse the products, narrow the search, add items to the Cart, and complete the transaction. The idea of having an opt-in form, related posts, and search widgets in the sidebar fails in this instance.
But don’t worry, there’s a solution: use the following WooCommerce widgets to add custom sidebars to different pages and views on your eCommerce website.
Those being:
- Products → display a list of the products available in your store
- Product Search → a dedicated search form for the store
- Product Categories → displays a list or dropdown of product categories
- Products by Rating → displays a list of the top-rated products in your store
- Product Tag Cloud → shows a cloud of your most used product tags
- The Cart → shows the customer’s shopping cart
- Filter Products by Attribute → display a list of attributes to filter products in your store
- Sort products by Price → display a slider to filter products in your store by Price
- Sort products based on their ratings → show a list of star ratings to filter products in your store
- Active Product Filters → displays a list of active product filters
- Recent Product Evaluation → shows a list of recent reviews from your store
- Recently Viewed Products → indicate a list of recently viewed products by a customer
Furthermore, here is a quick list of pages on your WooCommerce-powered WordPress website:
- Shop Page → displays all the products
- Product Categories → show all the products in a particular product category
- Product Tags → offer all the products related to a specific product tag
- Products → represent the singular view of a product
- Cart Page → displays the products added to the Cart
- The checkout Page → enables the buyers to make the payment for purchasing the products
- Account Pages → displays customer information related to their account, orders, etc.
That being said, you may want to experiment with adding custom sidebars for all or some of these widgets to make them stand out, improve the user experience, and optimize the conversion rate of your online store. This leads me to our next question:
Why Would You Need a Custom WooCommerce Sidebar
Even if your website already has primary navigation, sidebar content can help with important navigation to different site areas.
You are free to promote whatever content you believe is essential. Online store owners, for example, can highlight specific product categories. In addition, you can apply filters to products based on their color, Price, or size. As a result, customers will find the items they are looking for more quickly and efficiently.
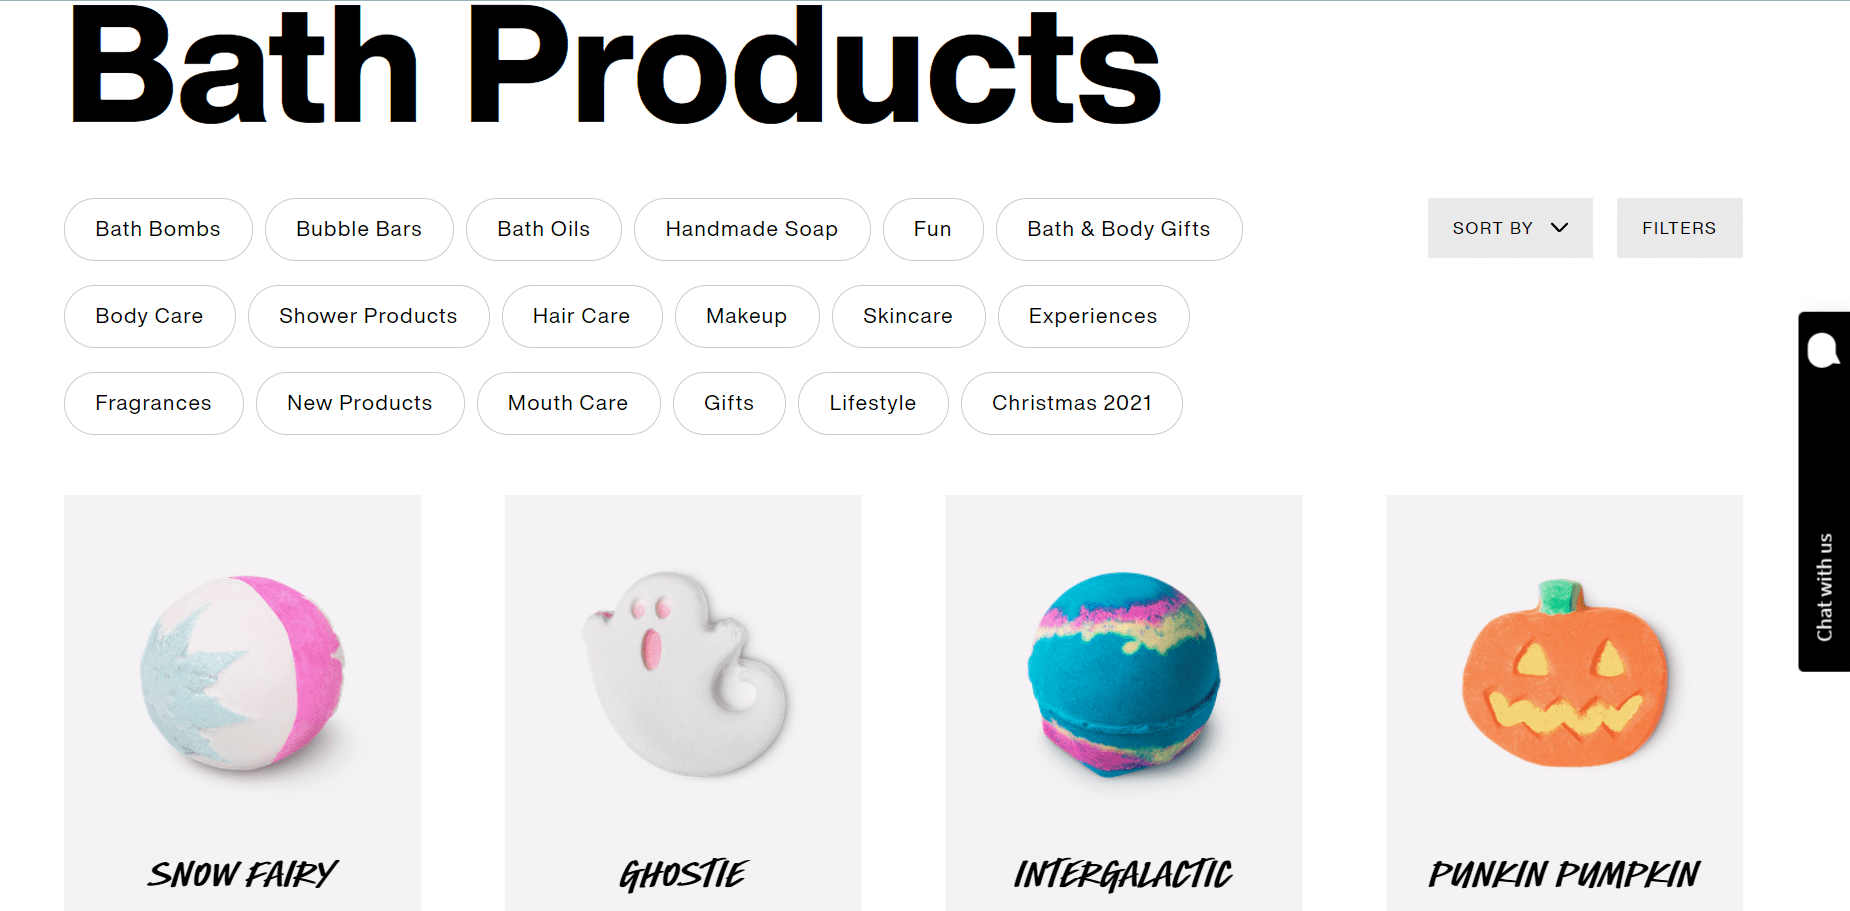
In many cases, a simple navigation bar at the top of your website will suffice, like in the Lush case; for example:
But a custom sidebar may be a better option for others. This is because you can also include content personalization. This means you can use a custom sidebar to display navigation links and other content that is more closely related to the content on each page.
If you’re considering using a plugin to help you create a custom sidebar, you might want to try out WooSidebars. WooSidebars includes a comprehensive conditions management system that allows you to specify which conditions the sidebar is replaced with the custom sidebar (for example, on certain pages, categories, tags, or internal WordPress screens). Learn more in their original documentation.
But for now, let’s stick to what we know best.
How to Display the Sidebar on Your Shop and Category Pages
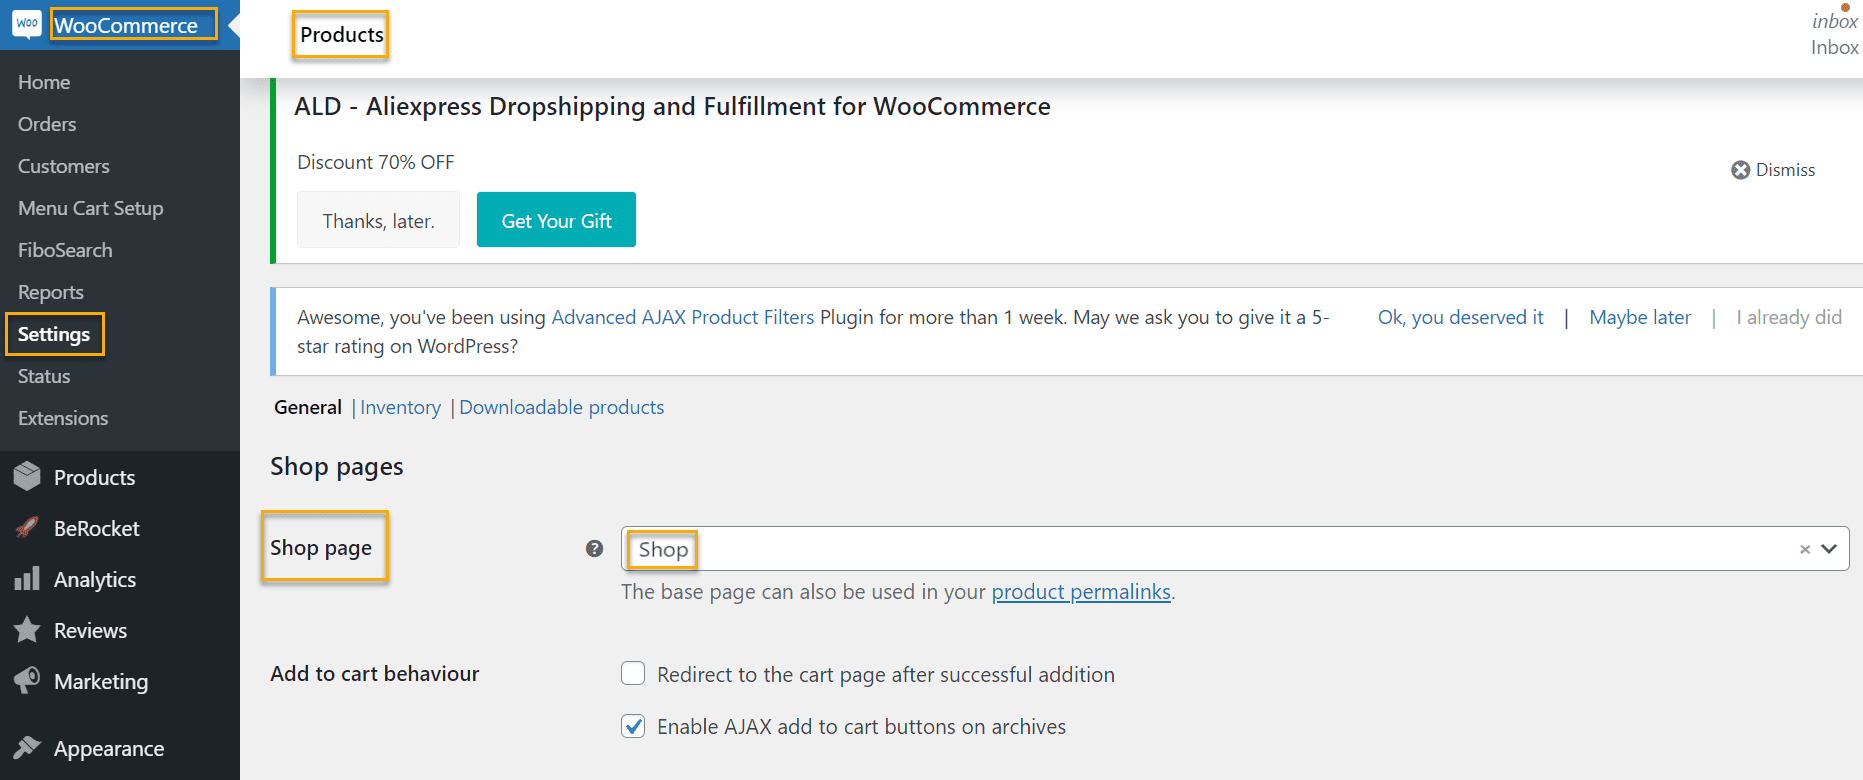
First things first. You must activate and select the shop sidebar for your default shop page before the sidebar will appear on your Shop and Category pages. Here’s how to go about doing it:
Check that your Shop page is configured in Dashboard → WooCommerce → Settings → Products:
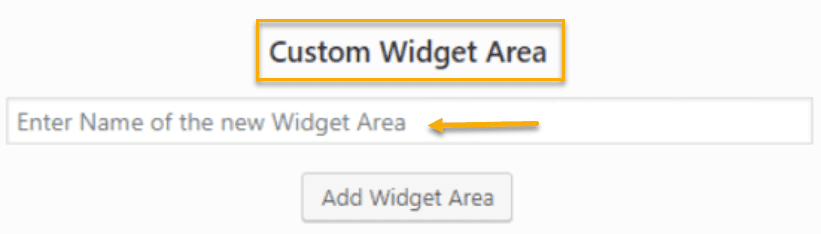
Then go to Appearance → Widgets → and create a new Custom Widget Area, ensuring it is custom.
Now go to Dashboard → Pages, identify and edit the Shop page, scroll to the bottom, and look for “Choose Widget Area in Sidebar.” Lastly, choose the Custom Widget Area in which you wish to display your sidebar, and you’re all done.
Now, let’s see how to create a custom sidebar from scratch using the built-in features that WooCommerce has.
How to Create a WooCommerce Sidebar From Scratch

To create a WooCommerce sidebar without the help of a plugin, using only the in-built features that WooCommerce has, this is what you will need to do:
- First, head over to your WordPress Dashboard.
- Appearance → Customize → Widgets.
- This is what it should look like at this stage:
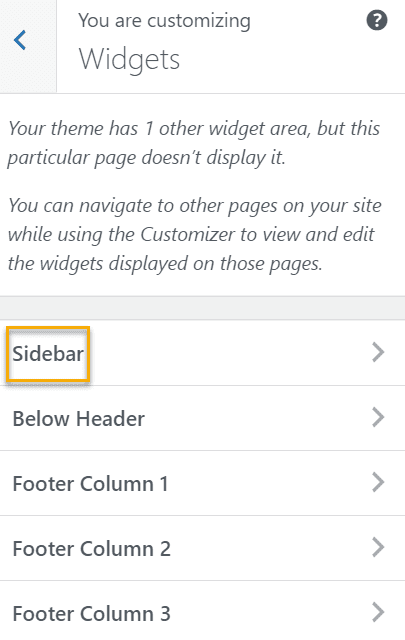
From Widgets, hit ‘Sidebar’ as indicated in the screenshot above, and you’ll see a list of WooCommerce features that you can use as Sidebar displays.
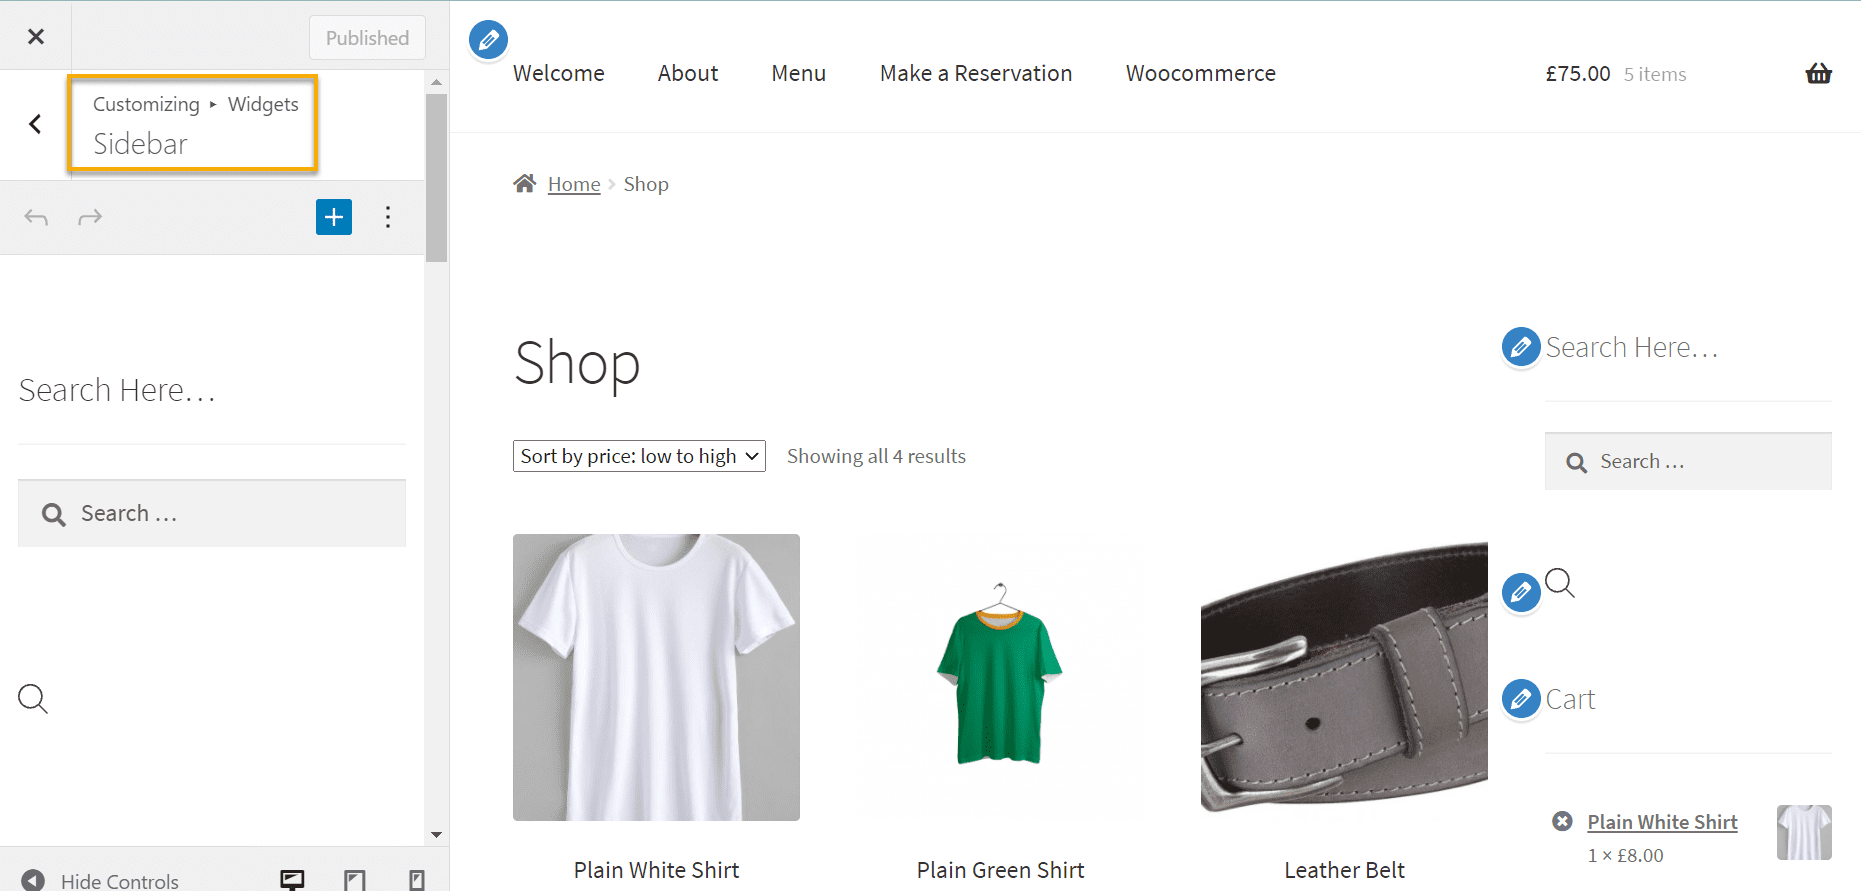
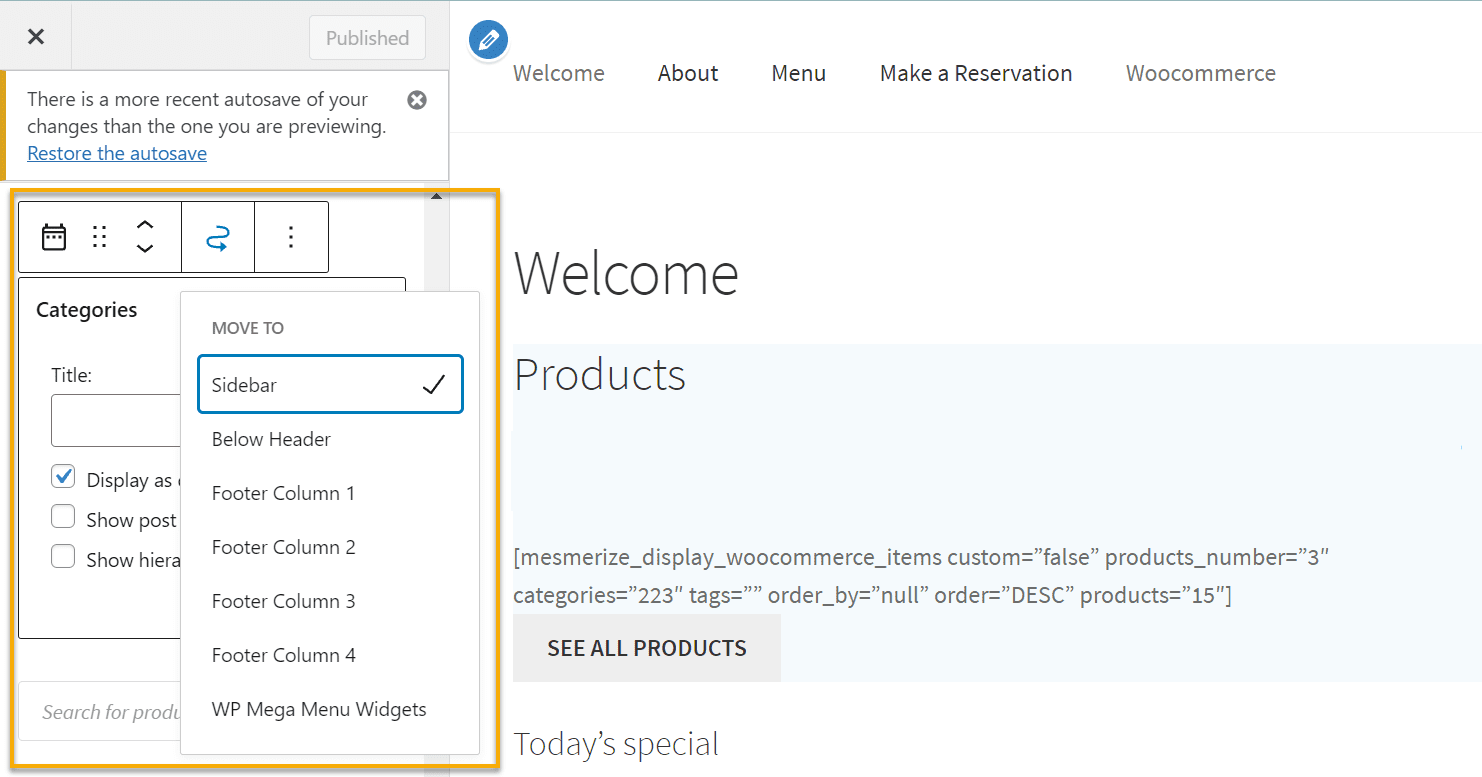
Now it’s time to pick a sidebar from the list on the left and decide which widget area you will place it in.
If you choose the first option, your sidebar will look like this:
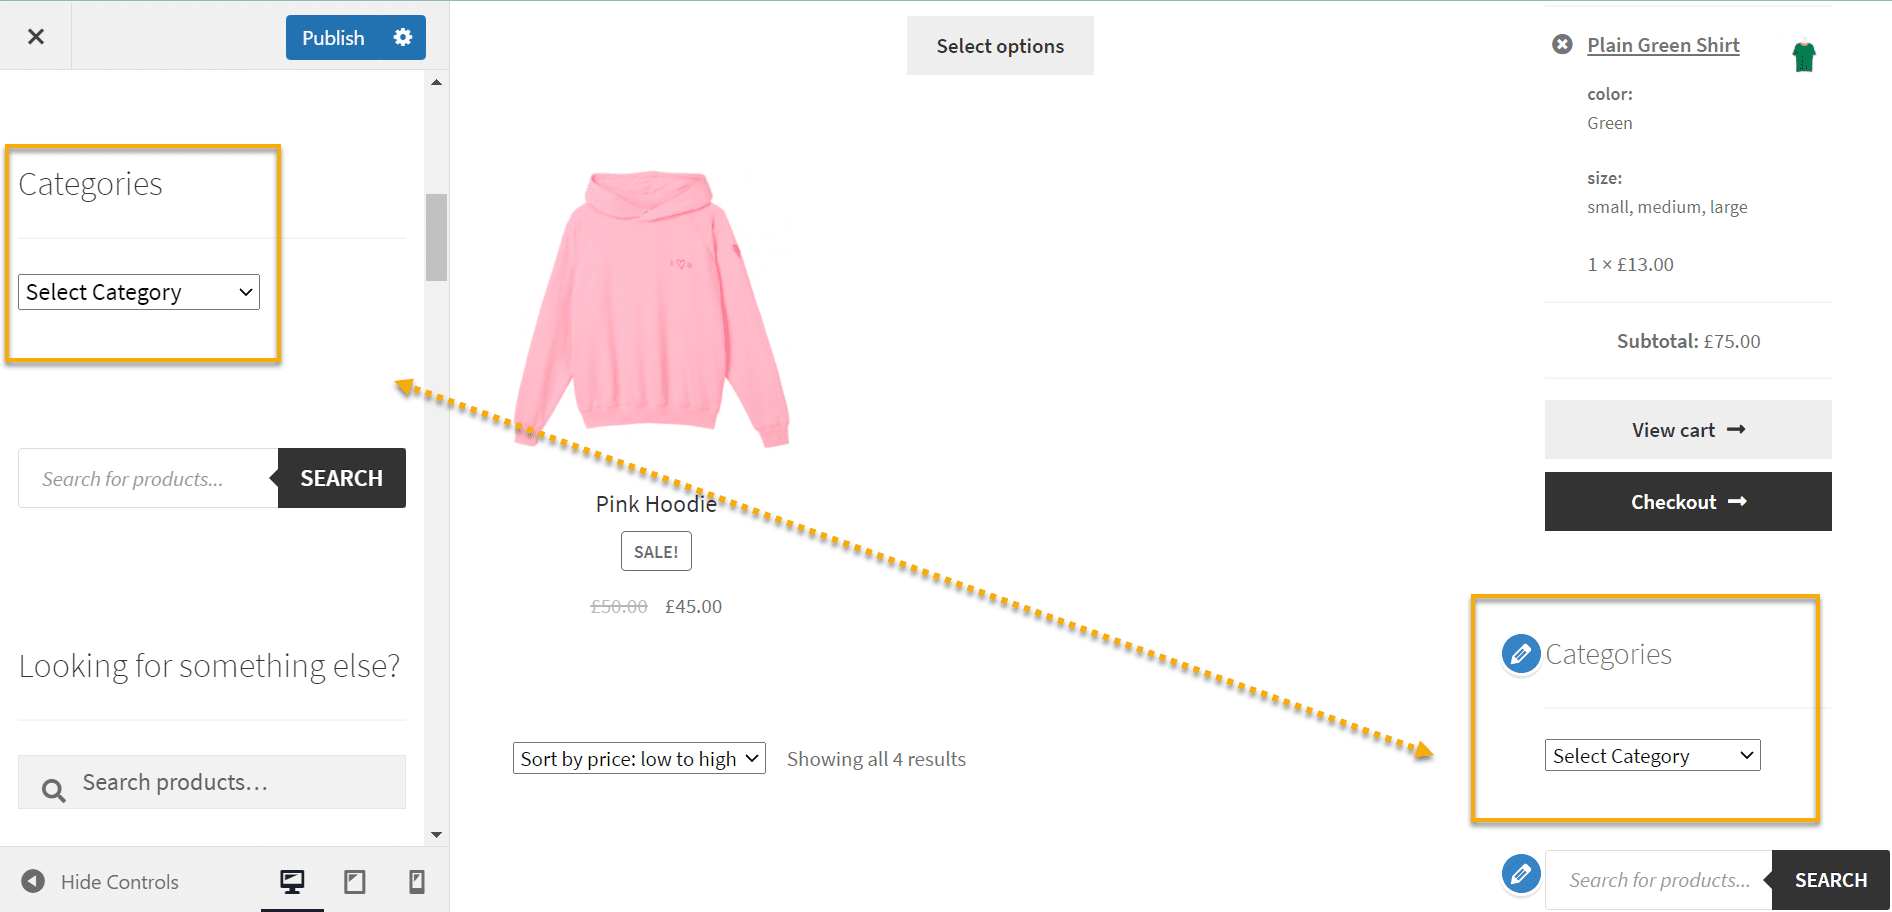
And that’s it. That’s how you create a default sidebar using WooCommerce. It’s not that difficult.
Over to You
You can experiment with alternative looks for your site by using a sidebar. It can also be fun to experiment with new features, such as adding custom elements or adverts to individual pages or showing your most popular articles.
It should be more than just about style when trying out a new navigation layout; it should also be about utility. After all, the main goal of a navigation tool is to make life easier for your consumers.
Adding a sidebar to your WooCommerce store should be simple. So make sure you give it a shot and let us know how it goes!

Gabriella is a Digital Content Writer and Marketer with a zeal for all things WordPress. When she’s not researching and drafting the upcoming articles, you can find her in the open air exploring the outdoors with her dog.


Comments are closed